A creative blog filled with crochet patterns, beginner-friendly tutorials, and a handful of delicious recipes.
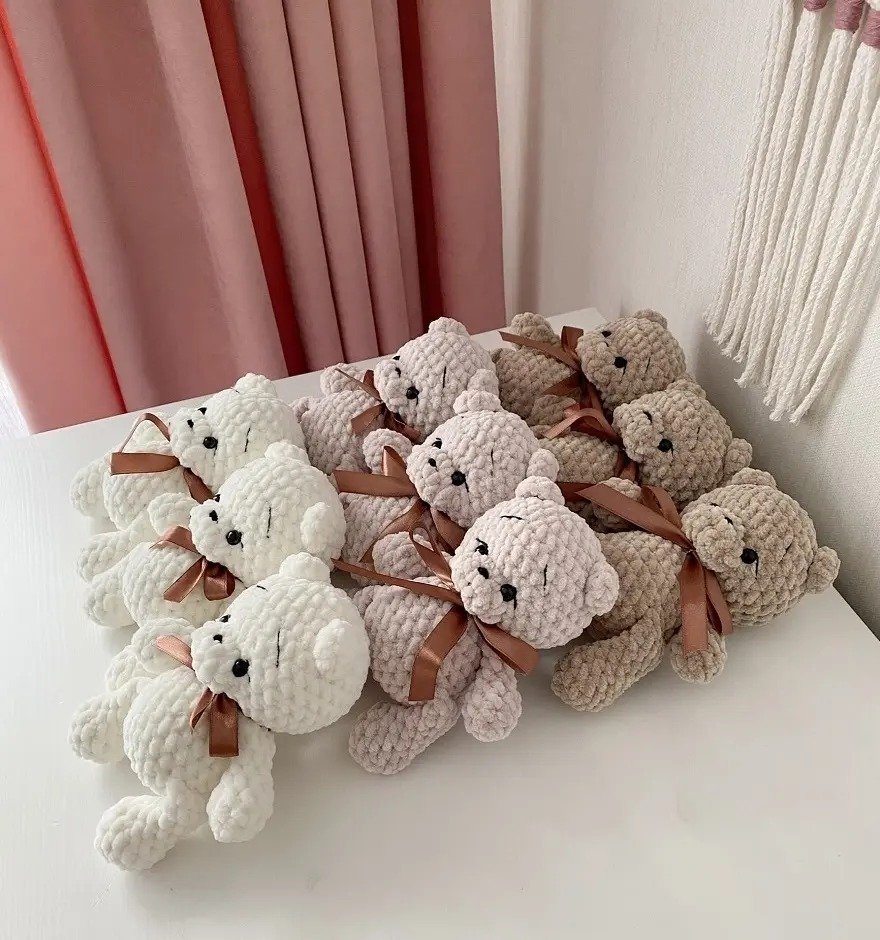
Crochet Teddy Bear With Pants
By Rachel Bradley
1 hour and 30 mins
Make a cute crochet teddy bear with pants using this easy and beginner-friendly pattern. Perfect for handmade gifts, baby toys, or amigurumi lovers, this project helps you create a soft, adorable teddy bear with simple stitches and beautiful results.
Patterns of the Week
Looking for fresh crochet inspiration? Our Pattern of the Week features a handpicked design to spark your imagination and keep your hooks moving.
Don’t miss this week’s favorite!
[blocksy_posts limit=”20″ has_pagination=”no”]
Patterns By Category
Explore our crochet patterns by category and discover designs for every style and skill level. Find the perfect project to match your mood and creativity.
98
Bears

23
Bunny

34
Cats

54